DIY: Make a Dog or Cat Bed
There’s nothing better than lying down to relax on your comfy bed after coming home from a long day outside or at school. Humans aren’t the only ones who love to get cozy—our animal companions do, too! Dogs and cats need lots of rest and relaxation throughout the day and night, and a comfy bed can make them extra-happy to lie down and take a snooze. Use this step-by-step guide to show your animal companion—or the dogs and cats at an animal shelter—that you care by making this DIY animal bed! It’s really simple, and you’ll need only a few materials.
How to Make a DIY Animal Bed
Ask a grown-up to help you collect the materials below, and then follow the simple instructions.
Materials
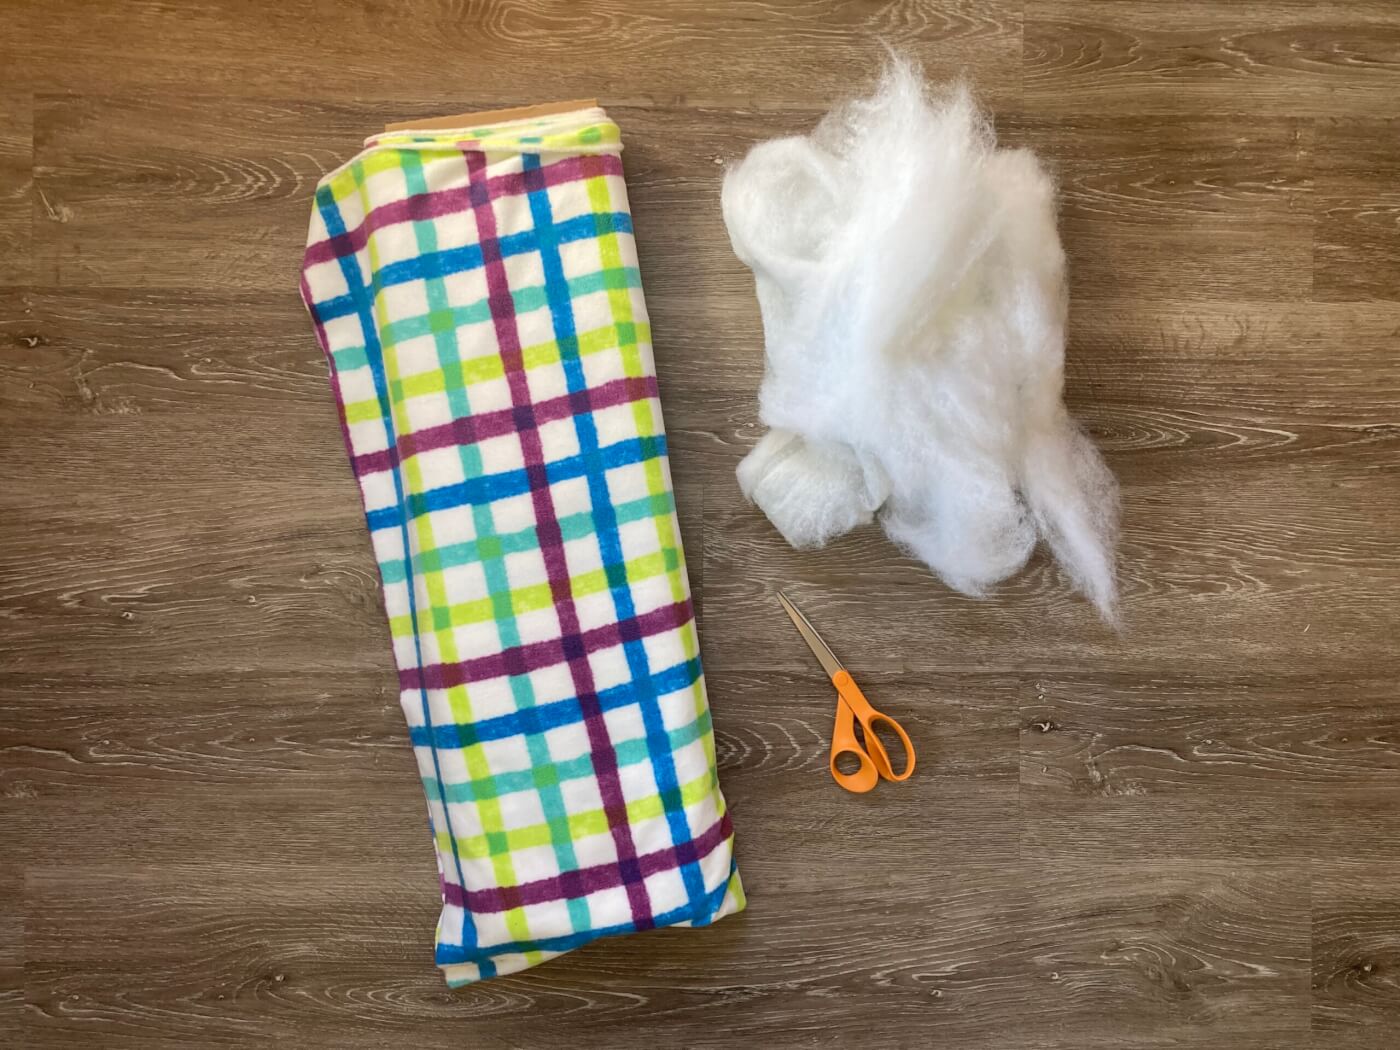
- 1 yard of polyester fleece fabric
- 1 or 2 small bags of polyester batting
- Fabric scissors
- Ruler (optional)
Instructions
- Find a large, flat surface to work on, like a kitchen counter, a dining room table, or even a clear area on the floor. Have all your materials handy.
- Start by deciding how big you want your animal bed to be. For cats and small dogs, use a small throw pillow to help you visualize how much fabric to use. For medium dogs, use a bed pillow. For larger dogs, use a couch cushion.
- Fold the fabric in half so that there are two layers. Place the pillow or cushion on top of the fabric so that one edge is even with the folded edge of the fabric.
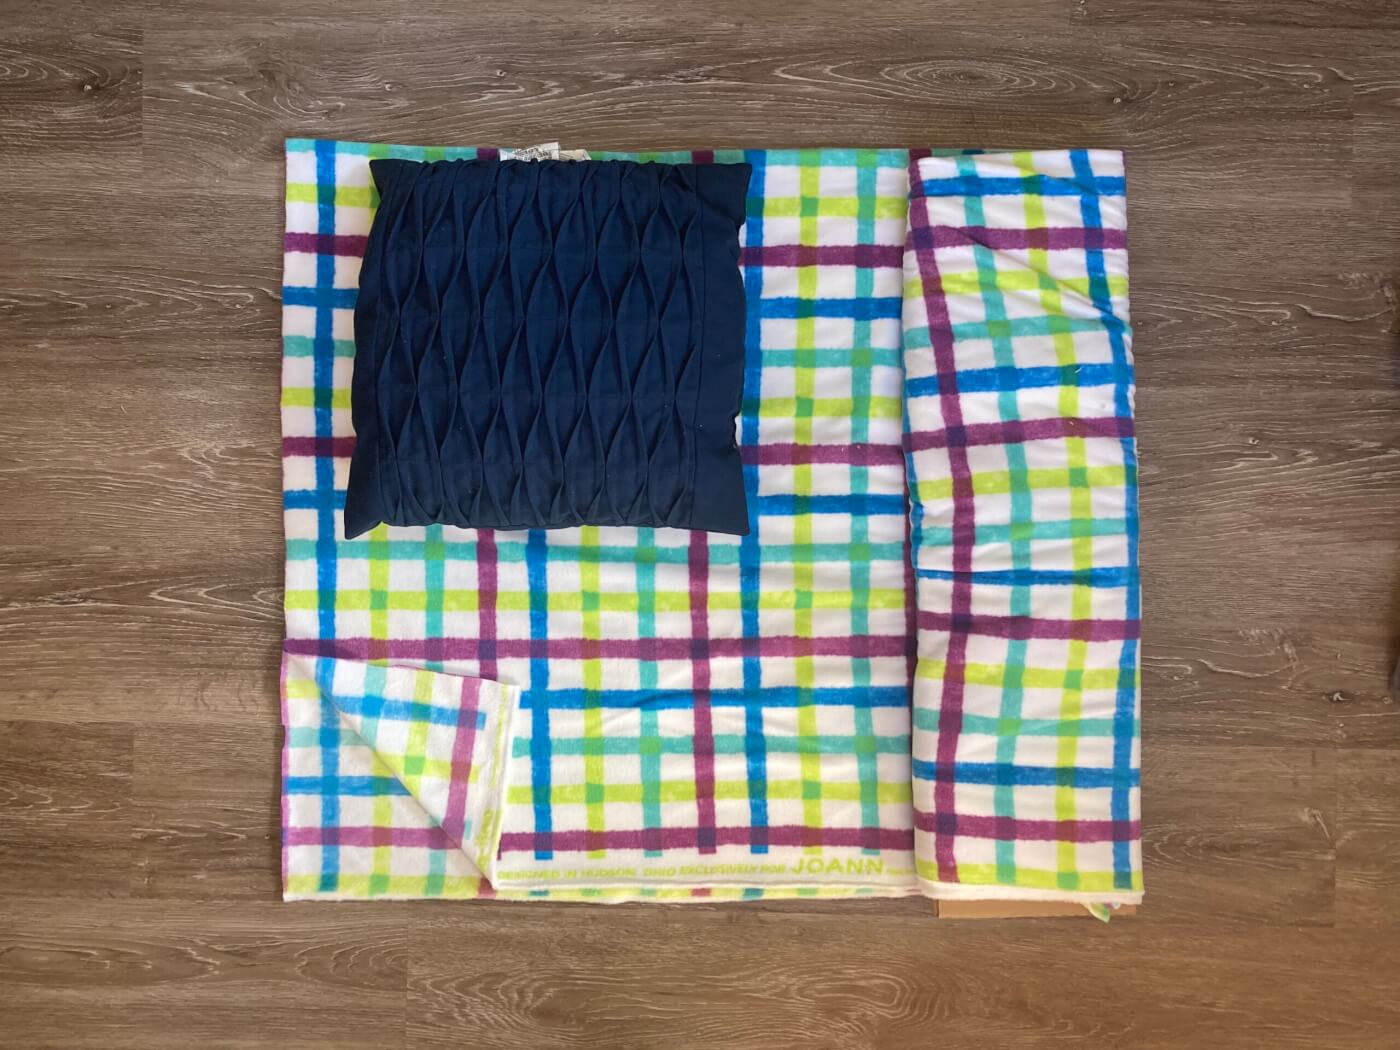
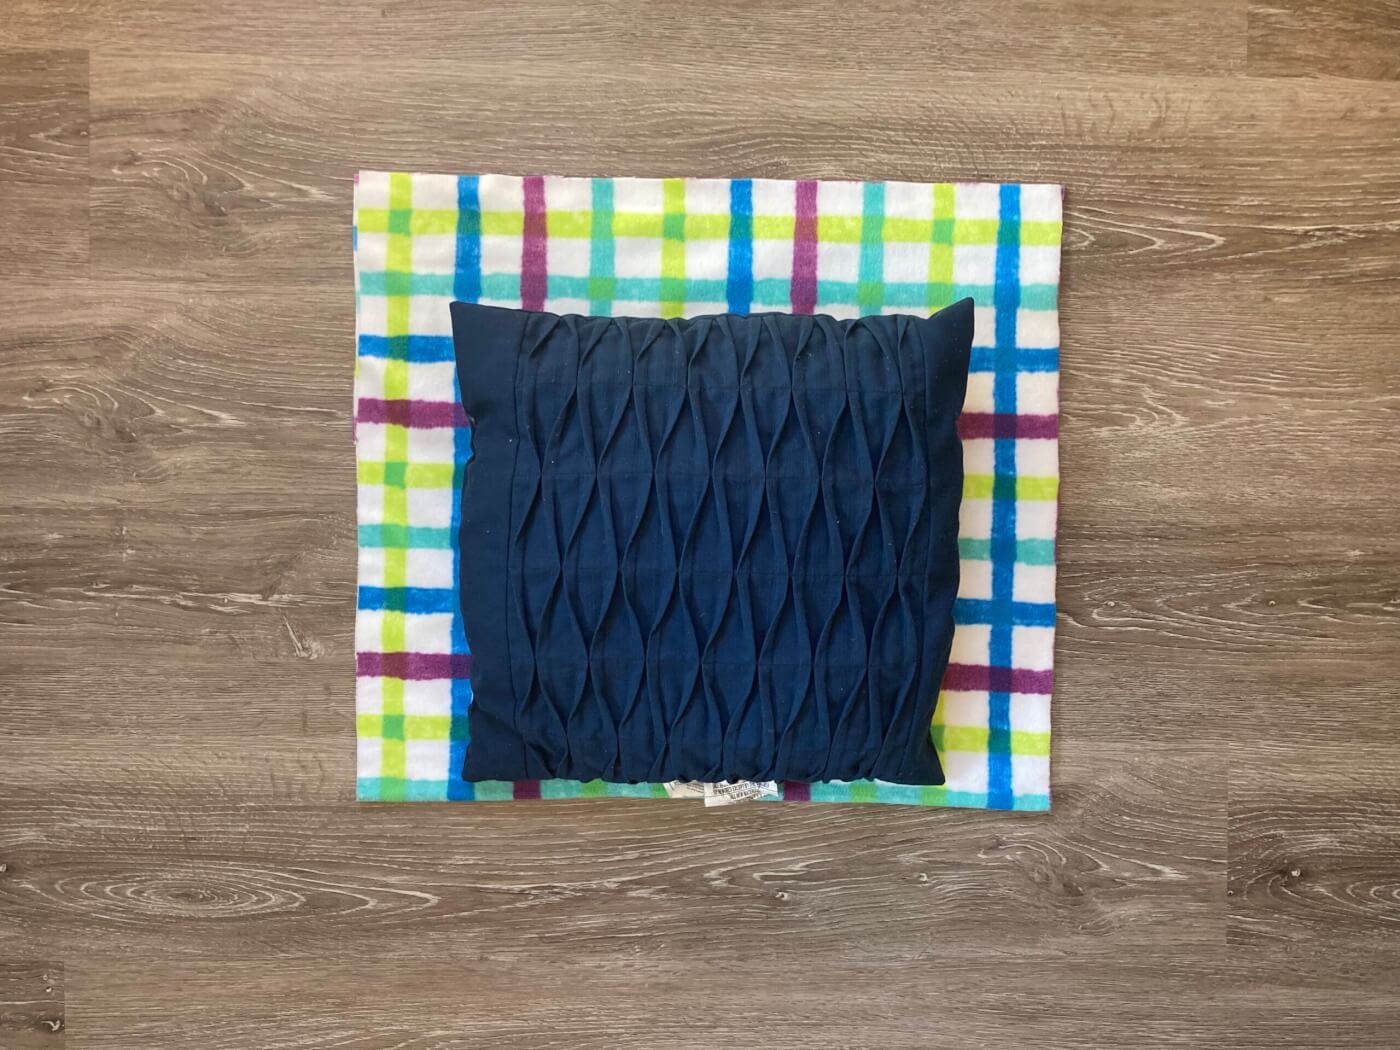
- Position the pillow or cushion so that there’s about 2 inches of fabric on all the other sides. Cut away the excess fabric (which you can save and use later to make catnip balls for cats or chew toys for dogs).
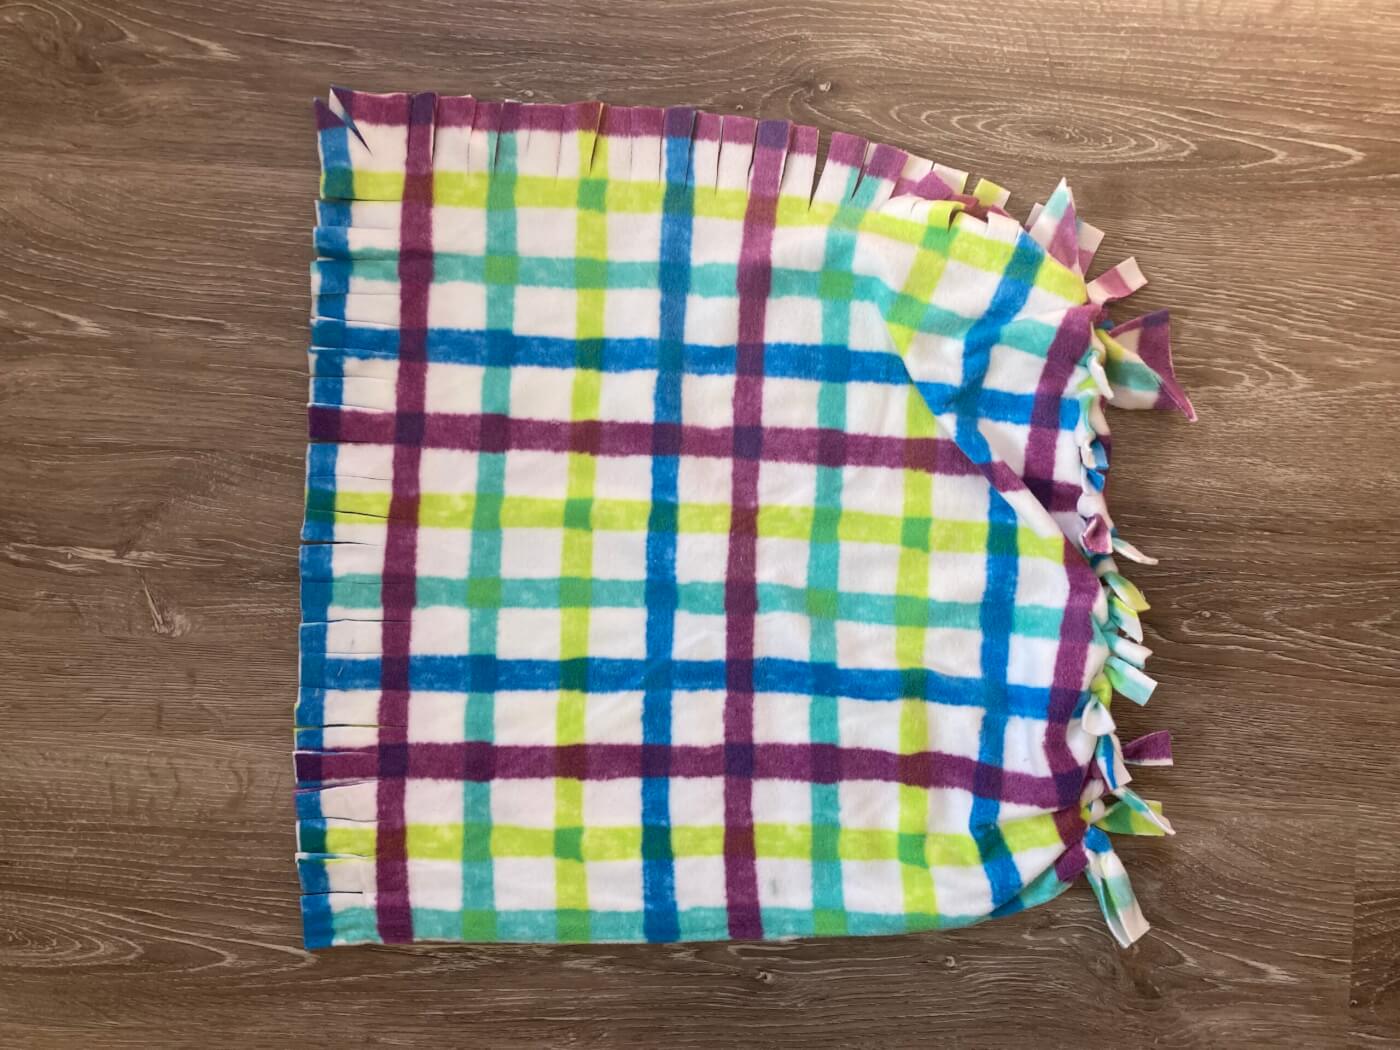
- Using the scissors, cut strips that are about 2 inches long and 1 inch (or two to three fingers) wide all around the open edges of the fabric. Don’t cut strips into the folded edge of the fabric. When you get to the corners, cut the strips at an angle to create triangular (instead of rectangular) strips.
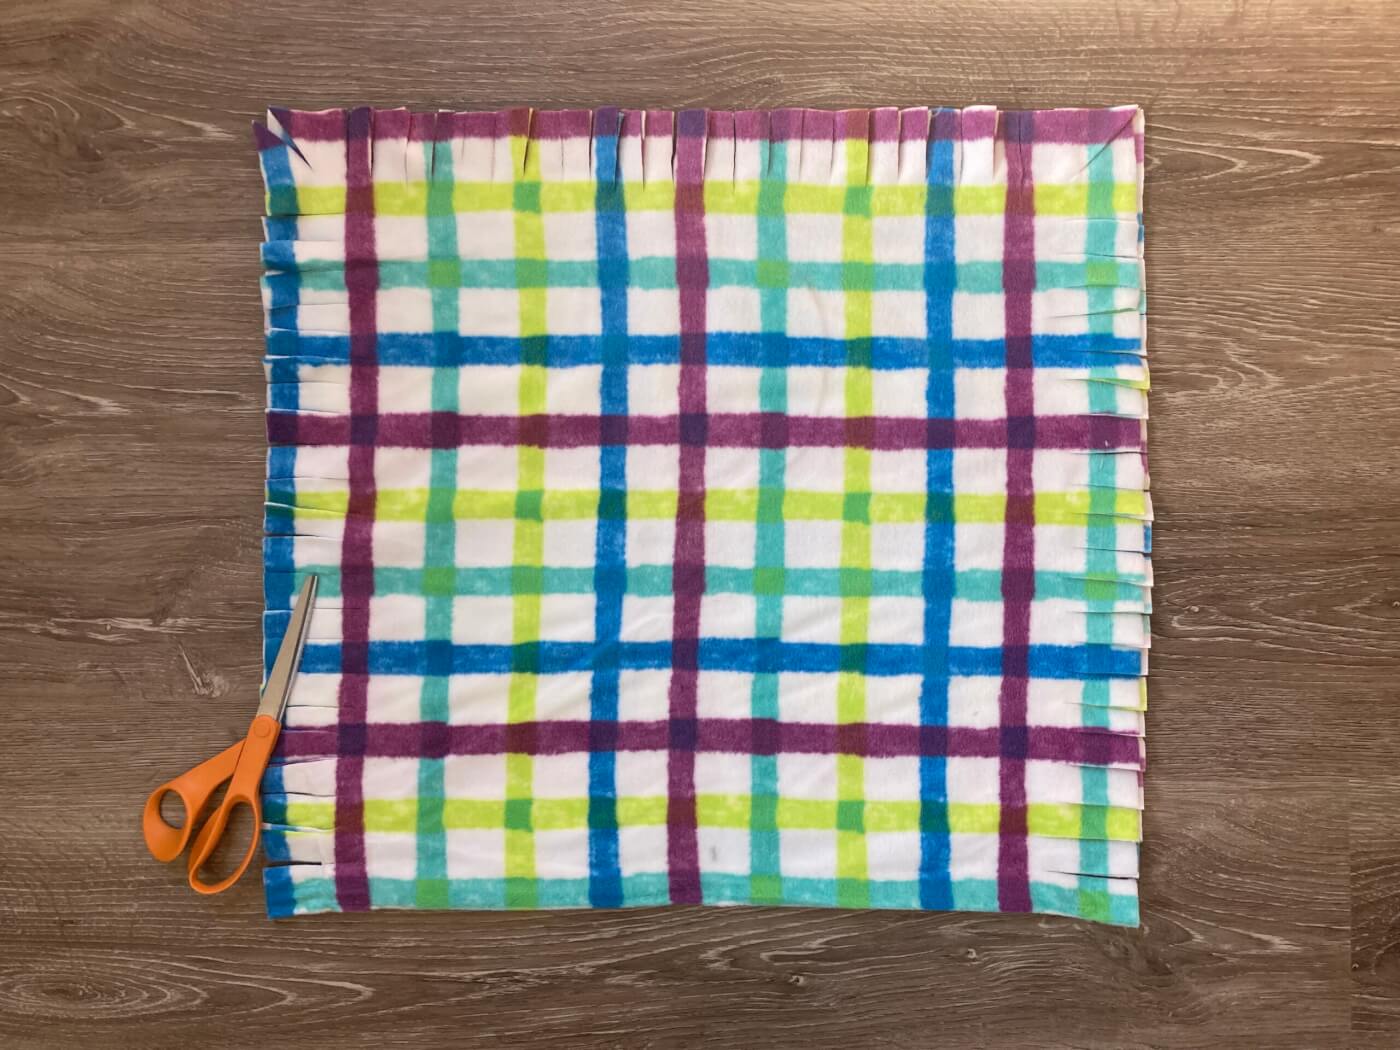
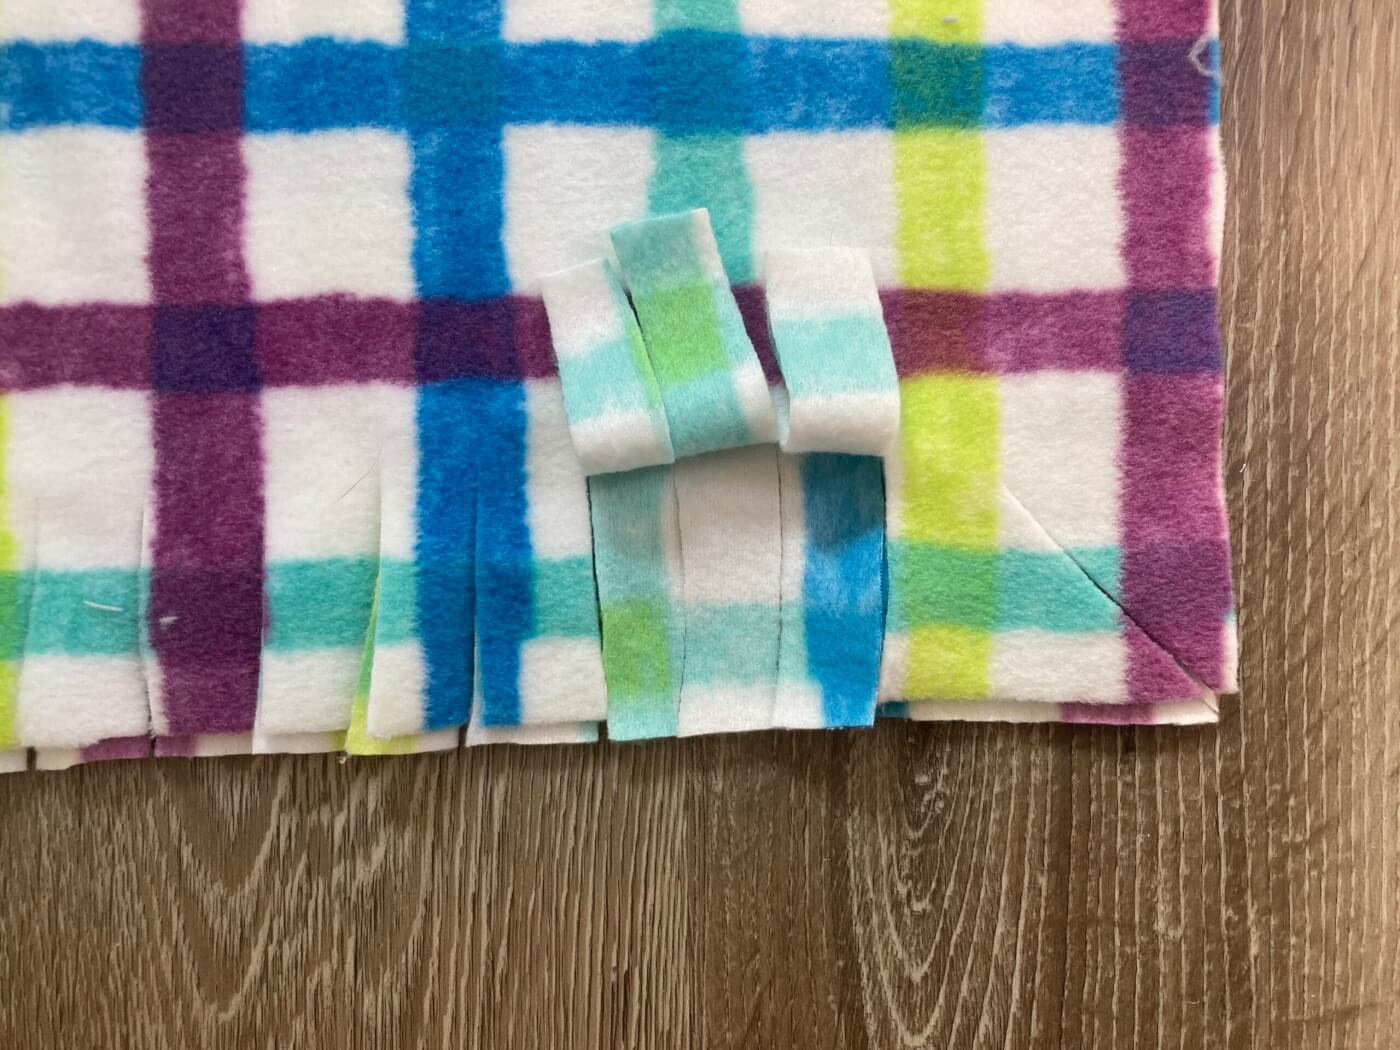
Here’s what the strips on the edges of the fabric should look like:
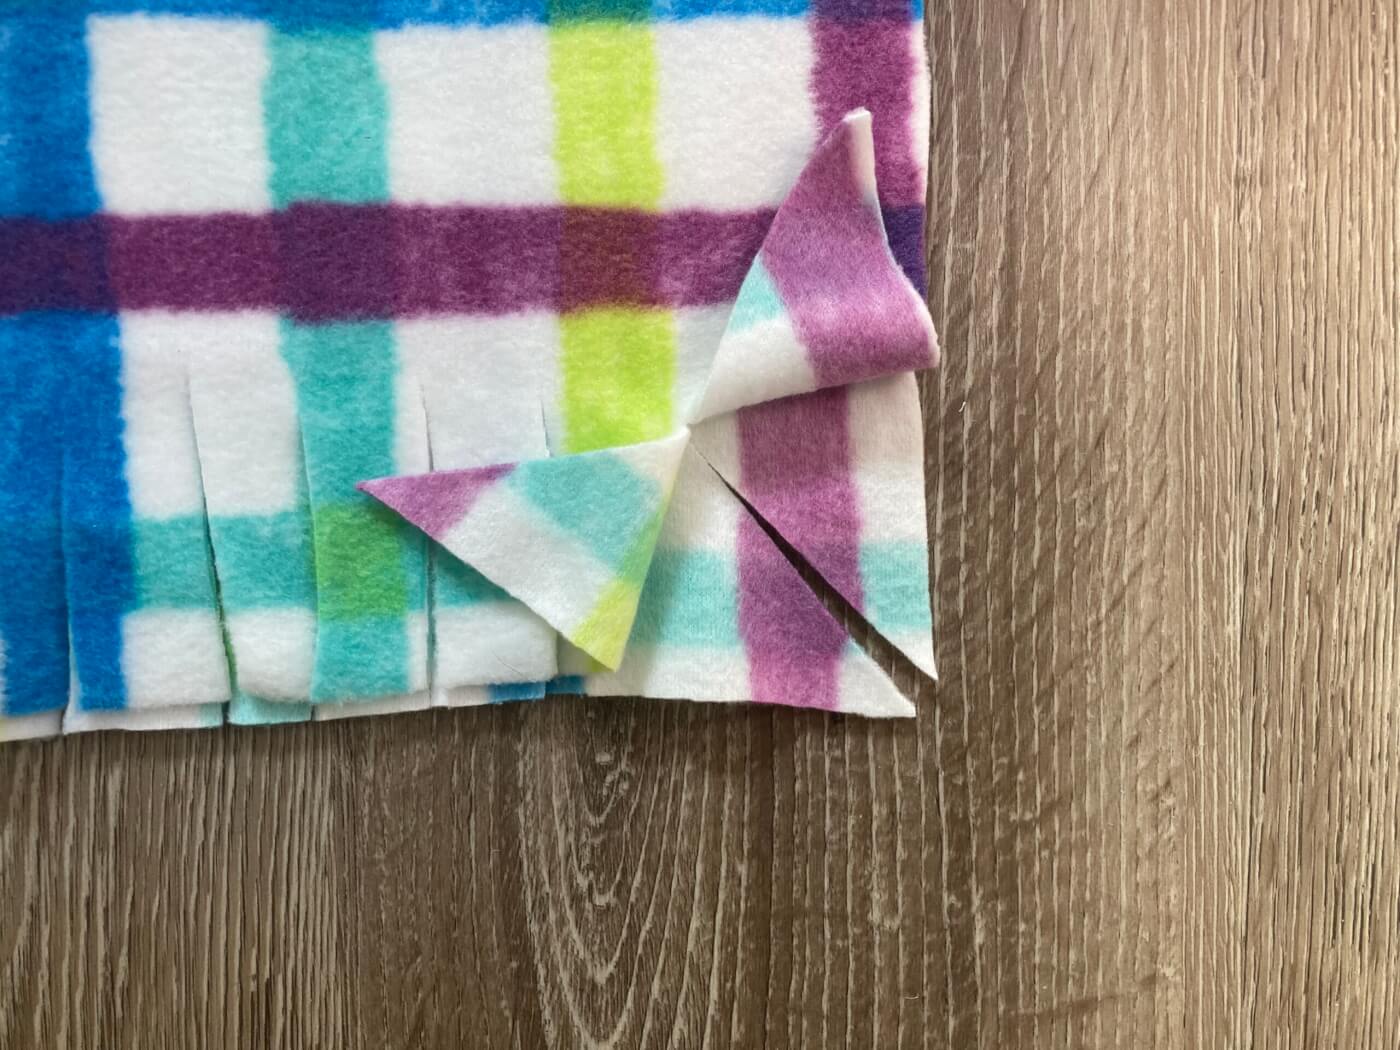
And here’s what the strips on the corners of the fabric should look like:
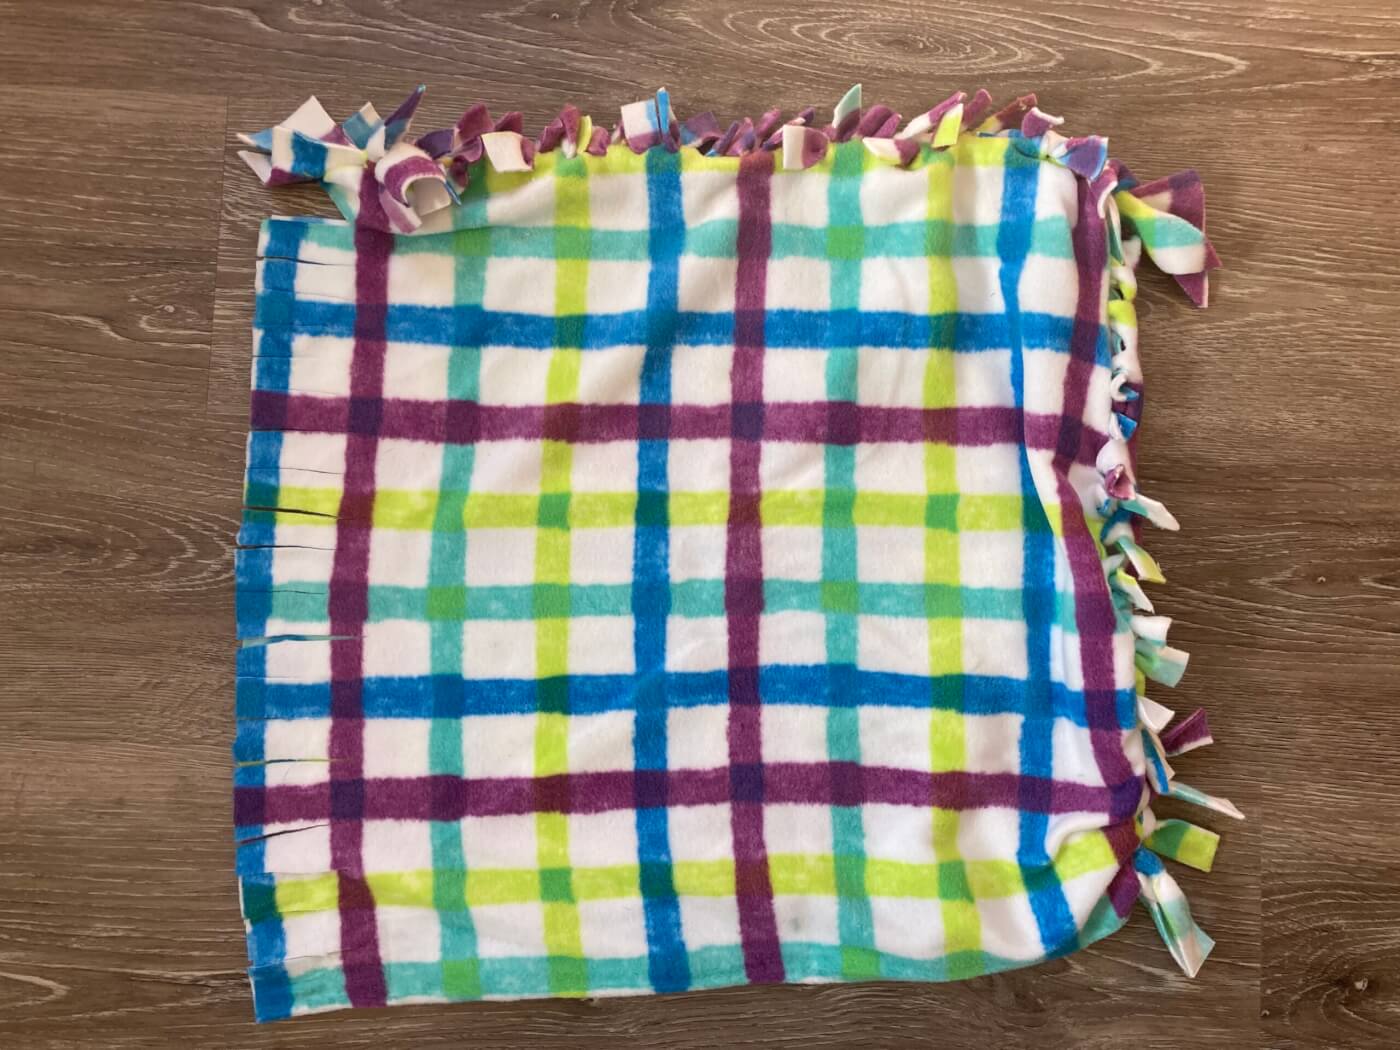
- Tie the corresponding top and bottom strips into double knots on two sides of the fabric, leaving the strips on the third side untied—this is where you’ll stuff in the batting. If you’re having a hard time tying the strips together, you can cut them to make them a little bit longer. The knots shouldn’t be too loose or else the batting will come out, but they also shouldn’t be too tight or else the sides of the bed will scrunch up. Keep in mind that a little scrunching is OK, though. If you find that the sides of your bed are too loose or too tight, you can always untie the knots and try again. Once two sides are tied, gently tug on them to test their strength. If the knots come untied, tighten them up.
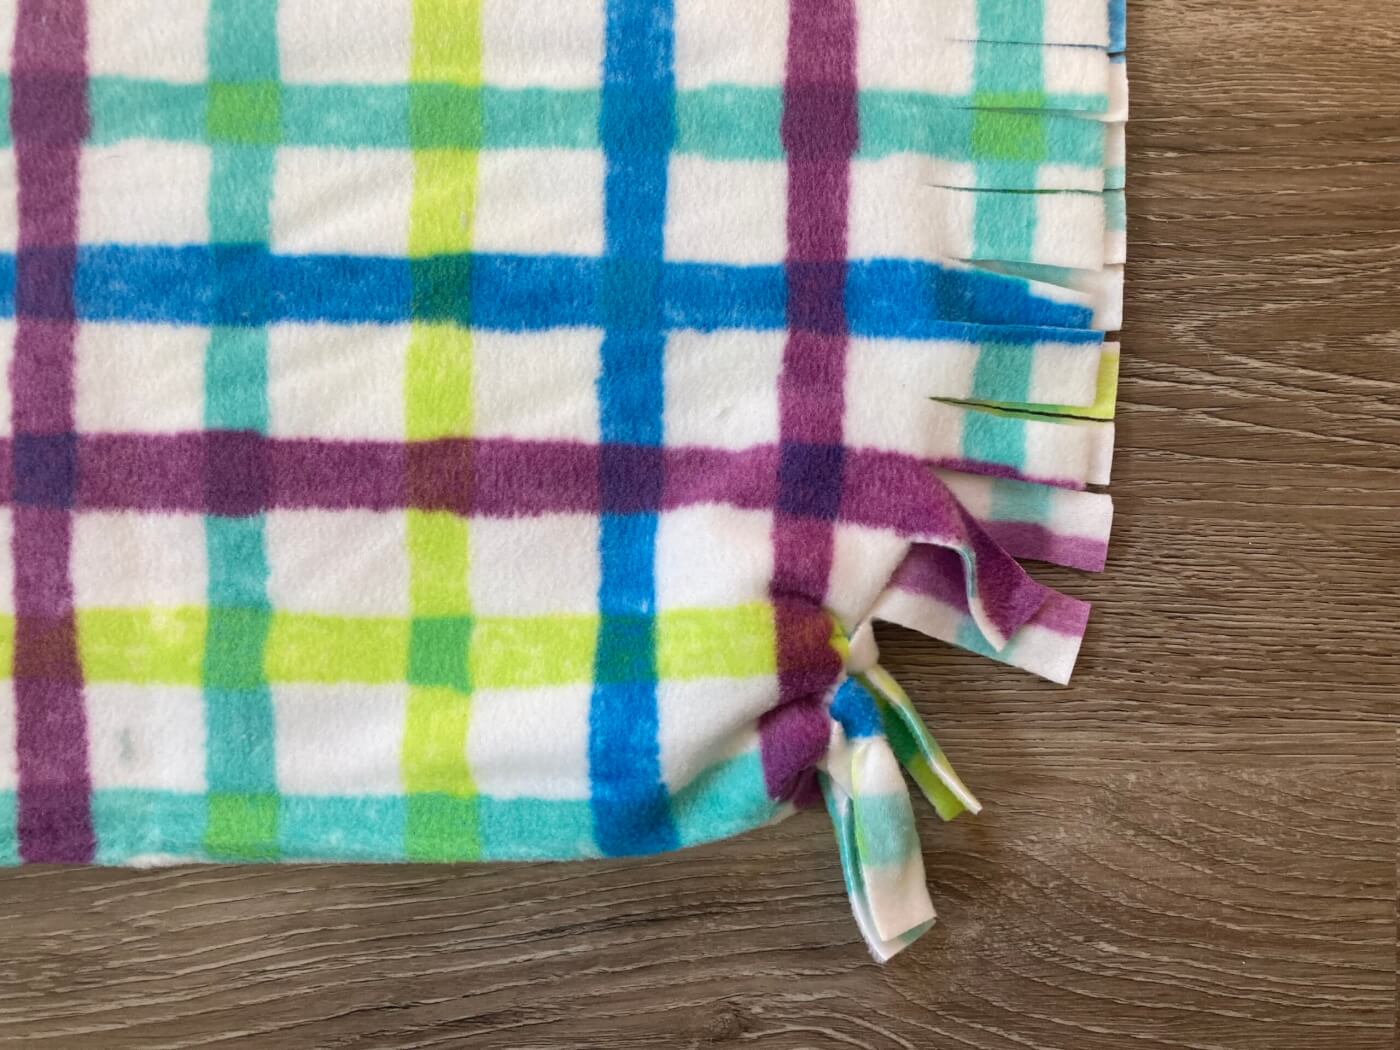
Here’s what one tied side looks like. Notice how it’s a little scrunched up—that’s OK:
And here’s what two tied sides look like. Notice that the third side is still untied and open so that you can put the batting inside:
- Begin stuffing batting into the open side of the fabric. If necessary, loosen up the batting to make it fluffy. For a firmer bed, add lots of batting. For a softer bed, add less.
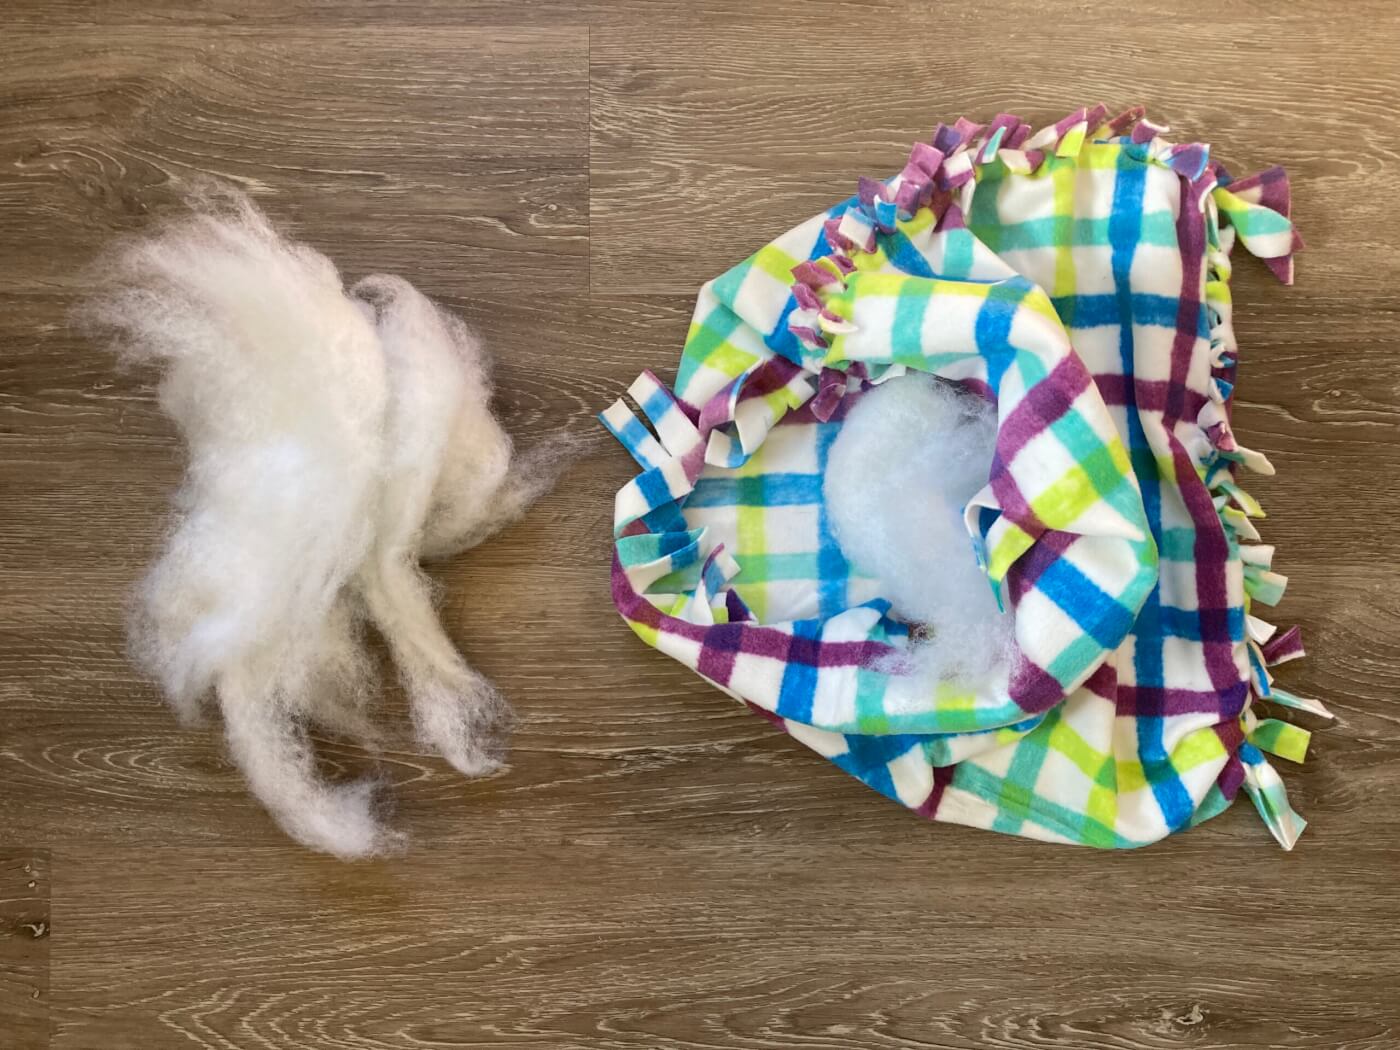
- Once you think you’ve added enough batting to make the bed comfy, tie the strips on the open side of the fabric into double knots. If you find that the bed is too firm or too soft while you’re tying the strips, remove some batting or add more before sealing the bed.
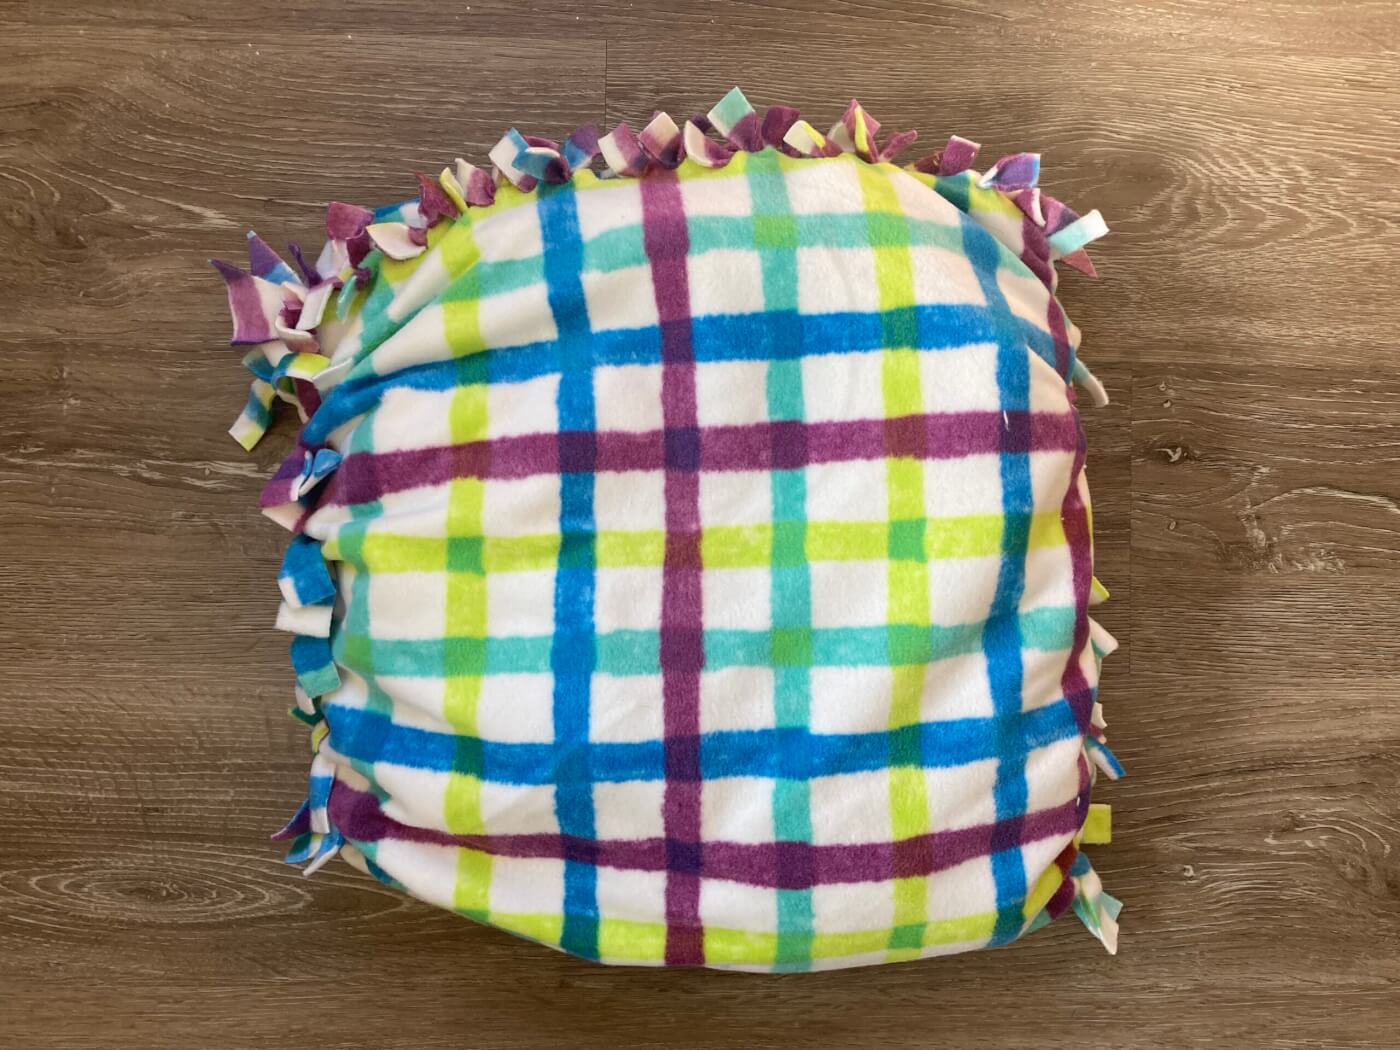
- Use your hands to press down gently on the bed and evenly distribute the batting inside.
How to Use
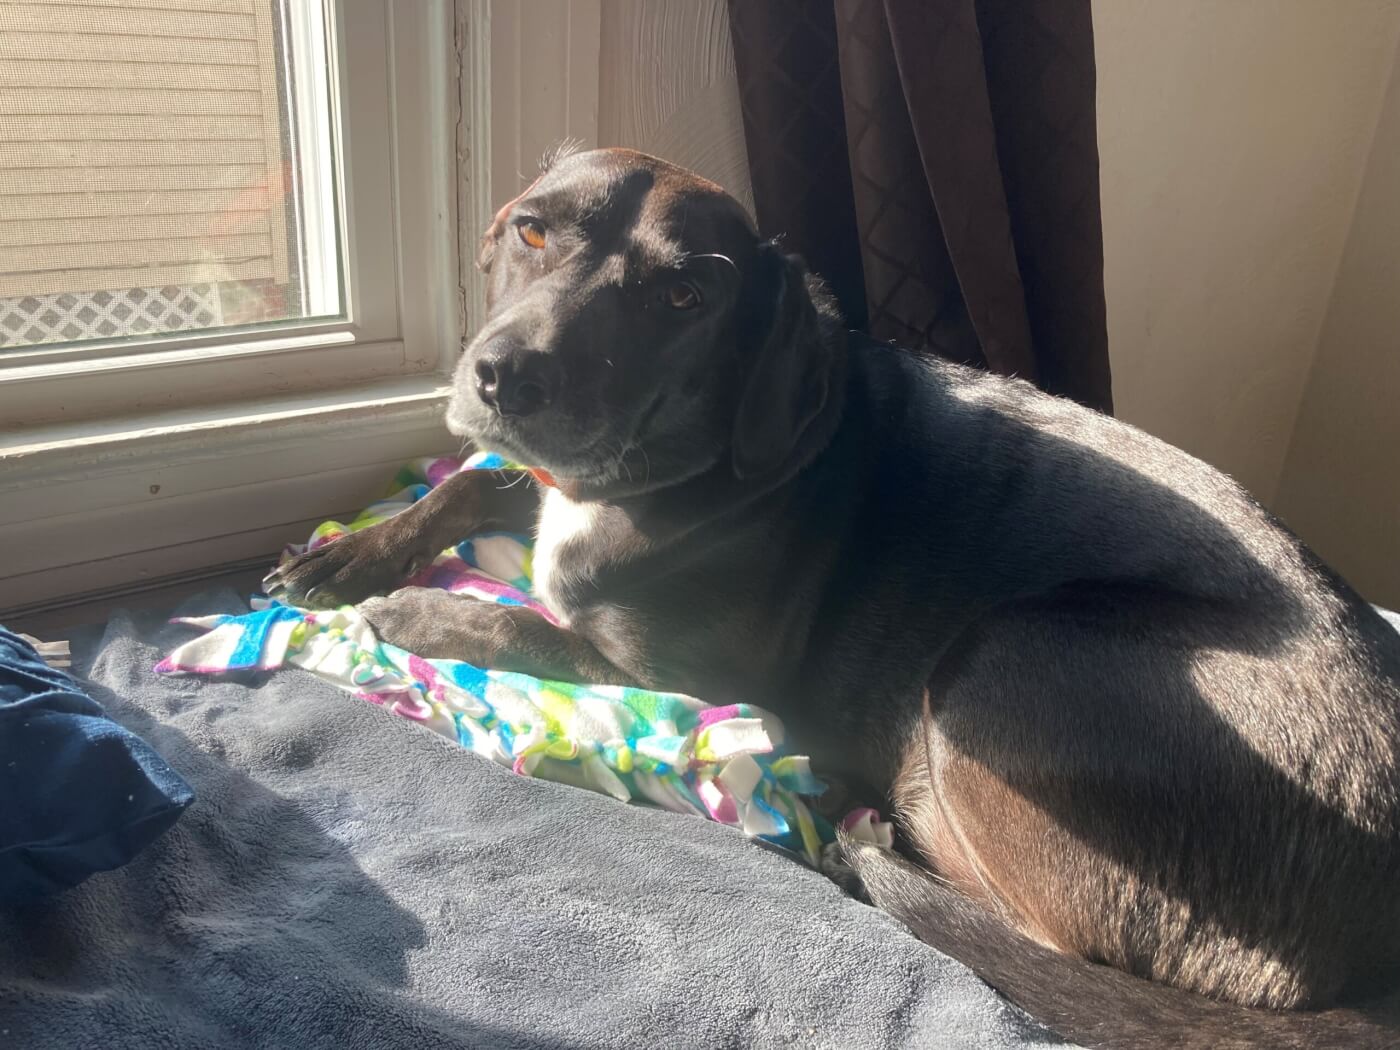
This is a great bed to give to your animal companion! But if your dog or cat already has a bed or your family doesn’t have a dog or cat, you can make these for animals at your local animal shelter. Just be sure to call ahead and ask if they take donations like this. If so, make a few and drop them off so that the animals at the shelter can enjoy curling up on a nice cozy bed. 😊


Under 13? Ask your parents bee-fore you continue!